

Clay Jewellery Dish is a must-have if you tend to lose tiny accessories like me. Also, to have your jewellery or tini tiny accessories like rings, pendants, and even scrunchies to keep them on display or handy. This time I wanted to imprint some leaves on air-dry clay and make a jewelry dish out of it. I must say it is the easiest Diy you can make.
Keep reading to find out How to make this Diy Clay Jewellery Dish…
Supplies :
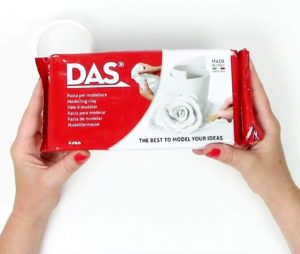
- Air-dry clay — I used Mont Marte clay
- Gold paint
- Brush
- Water
- Rolling pin
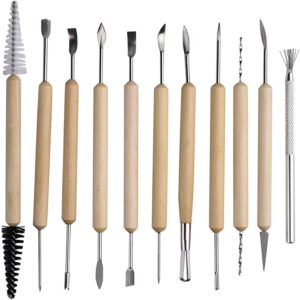
- Knife/Exacto knife (Clay Cutting tools )
This post contains affiliate links, which means the blog may earn a small commission when you buy with no extra cost to you. If you choose to buy from here. Thanks a ton !!
Get all the Supplies here. Simply click on the pictures and that should take you to the shop. I have not provided the link to the clay I used as it was way too sticky. However, this Das clay has wonderful reviews on Amazon. You might wanna go ahead with this one.
![]()
Let’s make the Clay Jewellery Dish
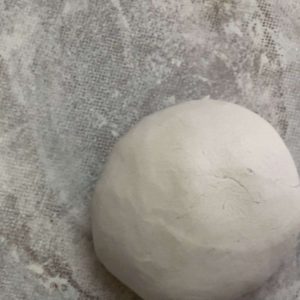
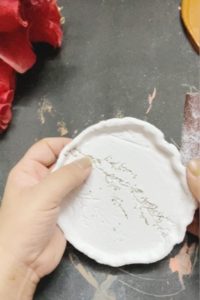
- Start with the small portion and seal the pack again just to make sure the clay doesn’t dry out. Cover the extra clay with a cling wrap.
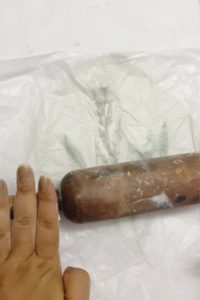
- Work it a bit with your hands to warm it up, and start rolling it. Keep flipping from time to time, roll to prevent it from sticking too much to the surface. Use powder if it’s too sticky, use little water if it’s too dry.
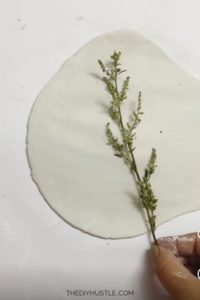
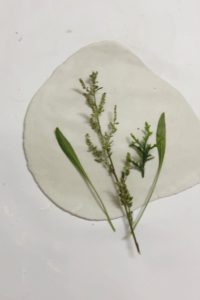
- Then place a leaf or grass on it, create a pattern you like and just when you are satisfied with how it looks, place a parchment paper or lightly go over again with the rolling pin, do not apply much pressure, slight pressure is fine, just to imprint the grass pattern into the clay.
-
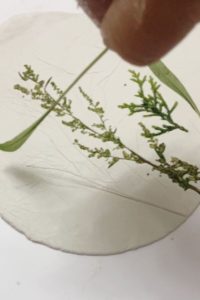
Here comes the most satisfying part, lightly pulling out the leaf, flora. Dust off any particles with the help of a brush. Also, fix any rough edges.
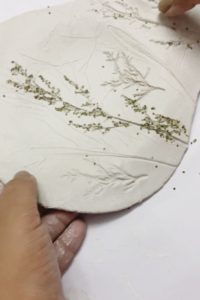
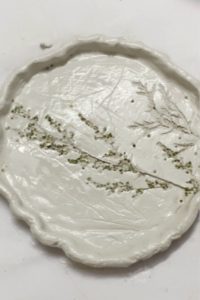
- Now that you are happy with the result, place it over a bowl, I have used a silicon mold here but you need not get it, you can basically use any bowl and remove the extra clay. Brush the edges, smoothen with the help of your fingers, and even them out.
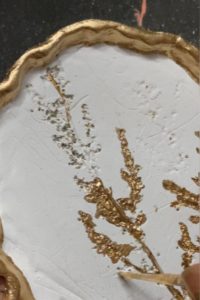
Gently place it to dry, mine took around 48 hrs. Once it’s dried take it out of the mold, sand it lightly with the help of sandpaper and paint with the color of your choice.
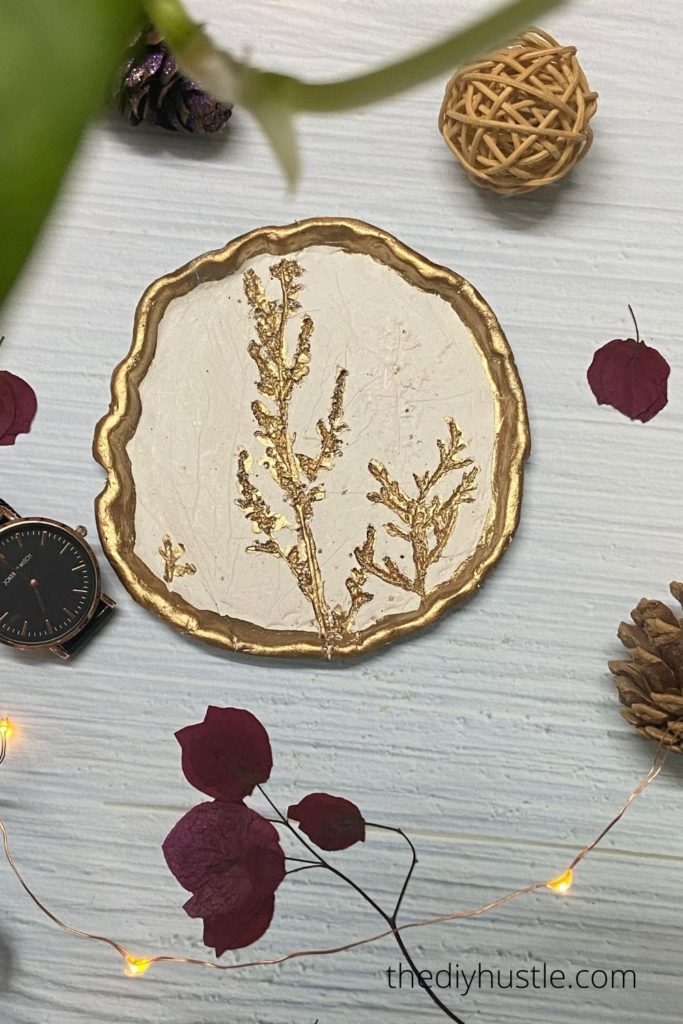
and TADA !! Your DIY Clay Jewellery Dish is ready.
Here’s a video tutorial
also don’t forget to subscribe to my youtube channel, right here. just press this red button 🙂
Thank you so much for the sub. 🙂
I hope you like this. I enjoyed making this. This looks so cute, Doesn’t it ?? You can make any Desired Shape. I also made a few other aesthetic DIY with the Air dry clay like The Diy Moon Clay Ring Dish and Abstract Face Clay Dish. That is the beauty of air-dry clay you can mold it to your desired shape. Subscribe for upcoming clay Projects. I am sure you are going to like them too.
Pin it for Later. Sharing is Caring!! Simply click the Pinterest share button.
Hope you have a great day !! Thanks for stopping by !!
XOXO


Comments
Pingback: Clay Crafts | Clay Owl Planters |How to make| Easy DIY » The DIY Hustle
Pingback: DIY Abstract Clay Face Ring Dish| Easy Clay Crafts – The DIY Hustle