
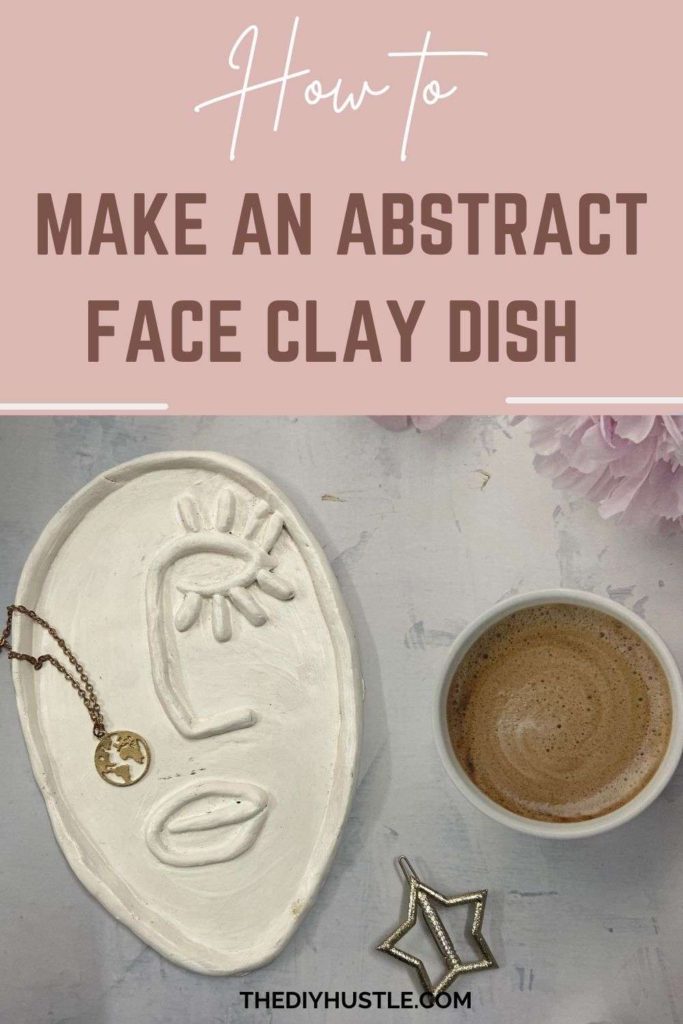
Keep reading to find out How to make this Clay Face Ring Dish…
Supplies :
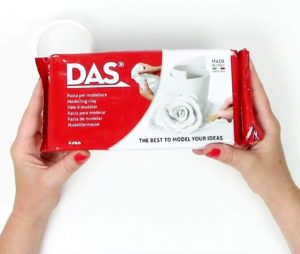
- Air-dry clay — I used Mont Marte clay
- Gold paint
- Brush
- Water
- Rolling pin
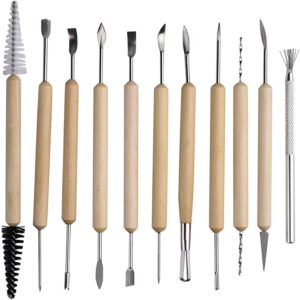
- Knife/Exacto knife (Clay Cutting tools )
This post contains affiliate links, which means the blog may earn a small commission when you buy with no extra cost to you. If you choose to buy from here. Thanks a ton !!
Get all the Supplies here. Simply click on the pictures and that should take you to the shop. I have not provided the link to the clay I used as it was way too sticky. However, this Das clay has wonderful reviews on Amazon. You might wanna go ahead with this one.
![]()
Here’s a video tutorial
also don’t forget to subscribe to my youtube channel, right here. just press this red button 🙂
Thank you so much for the sub. 🙂
Now let’s make the Abstract Clay Face Ring Dish
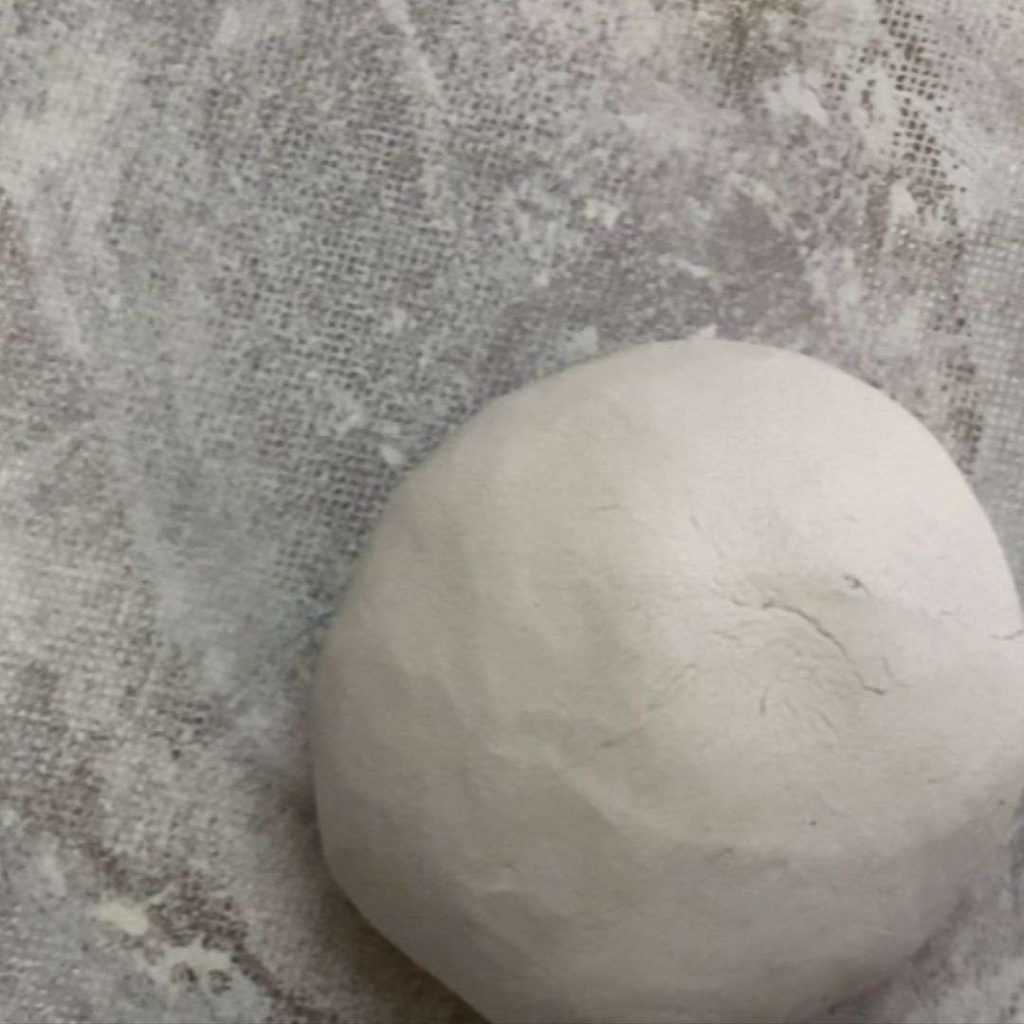
Take out some chunk of clay and work it with your hands to slightly warm it. Mine was super sticky. When it’s too sticky throw some baby powder-like we do while kneading the flour. Likewise, dab some water (not too much) if it’s too hard.
Flatten the clay to smooth it out, roll out with the help of a rolling pin or glass bottle until you get the length and thickness as desired.
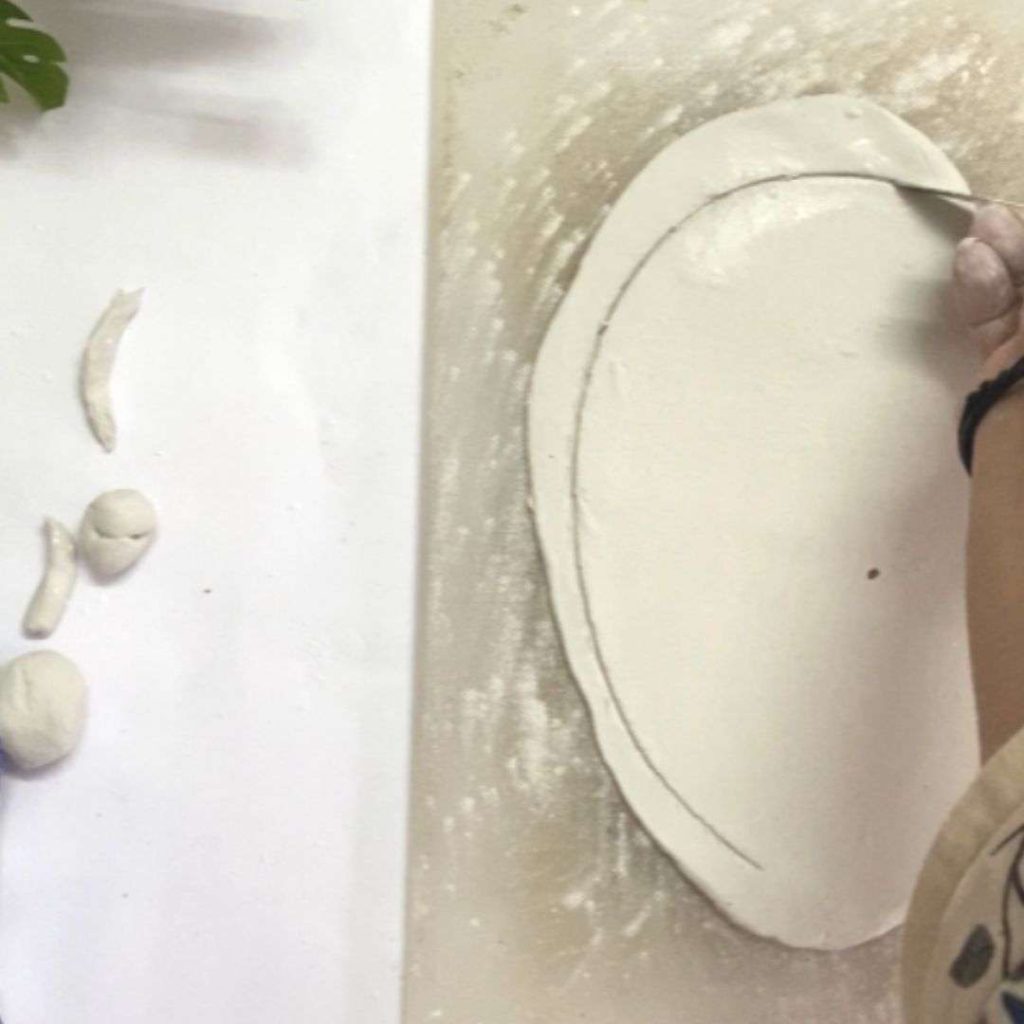
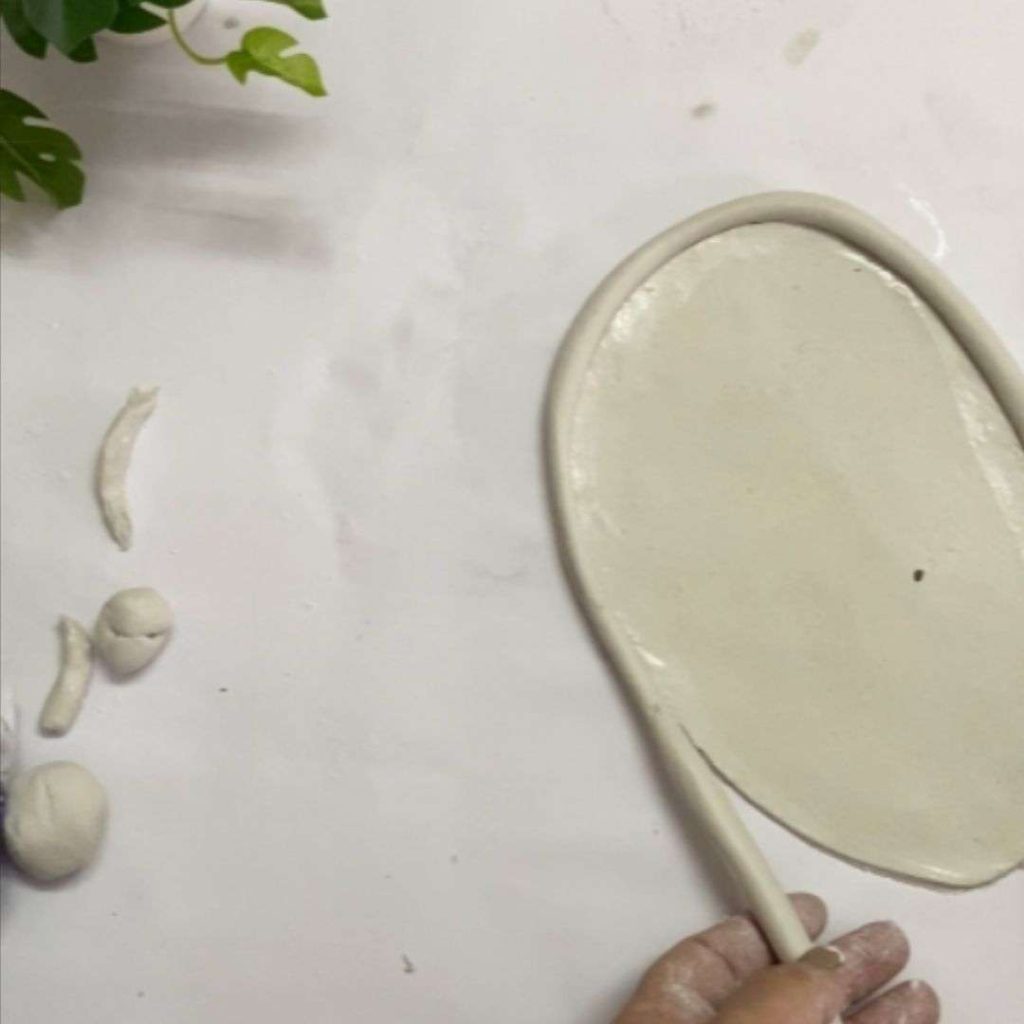
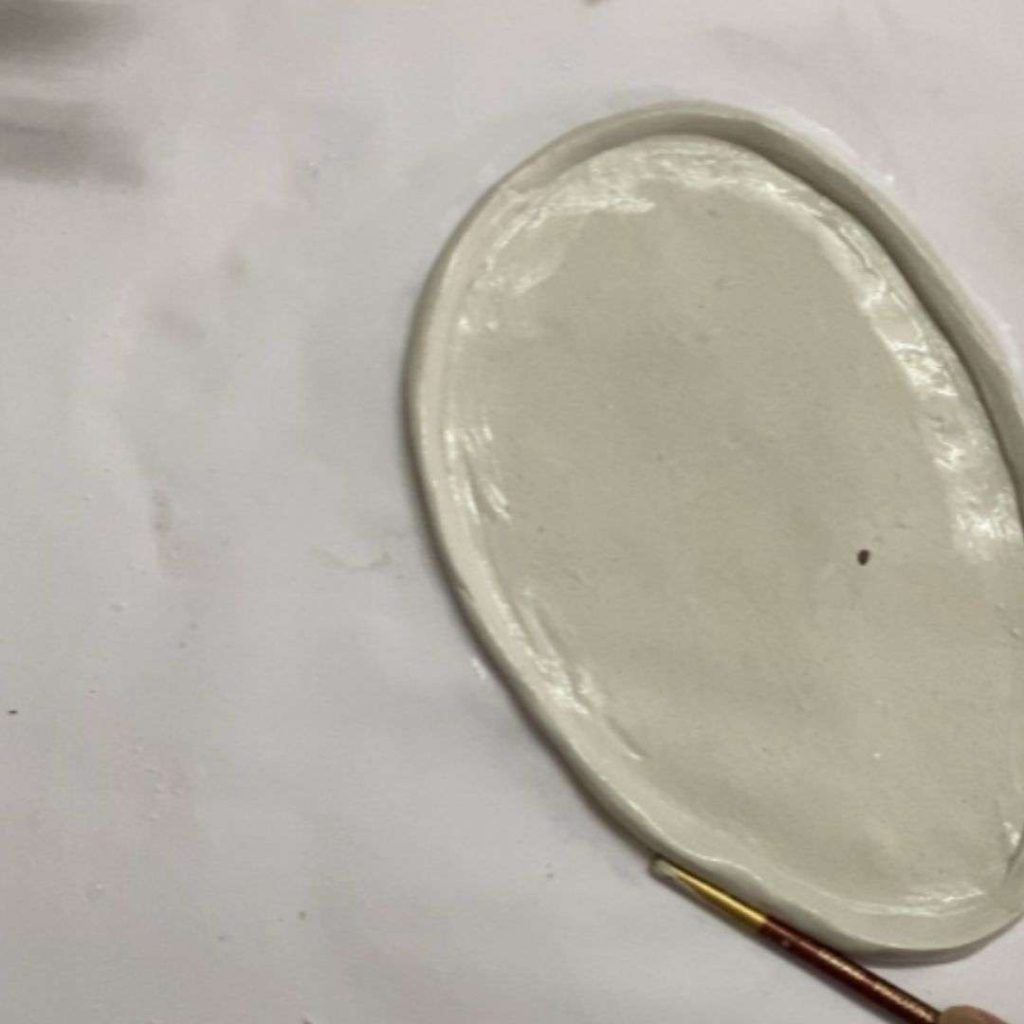
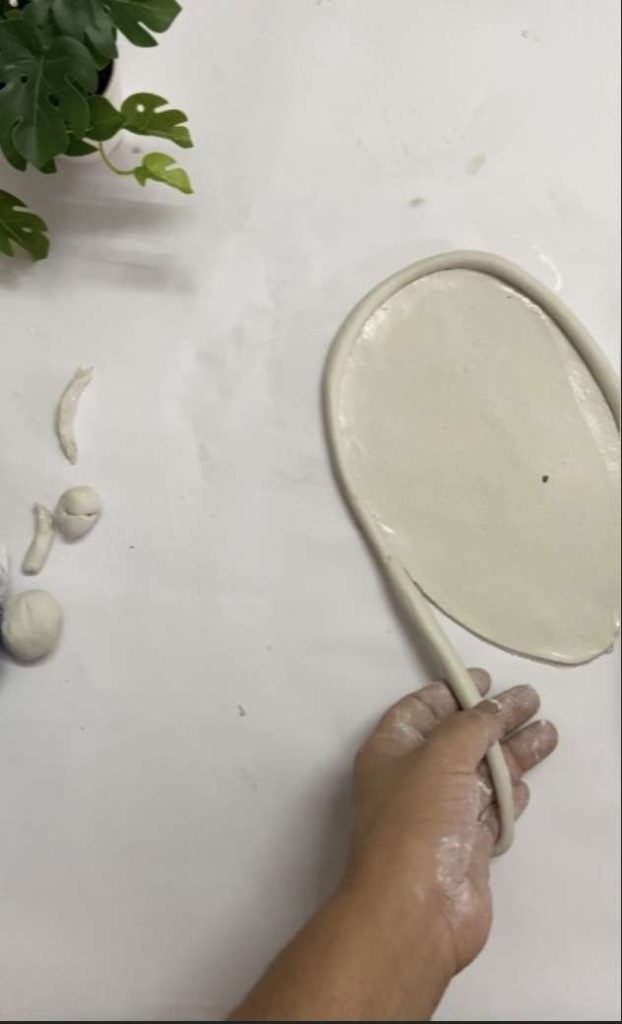
Now you can make a template but I went free hand to cut out an oval shape. Cut along the edges of the template with the help of a knife. Smooth out the edges with the help of water, use a paintbrush or your fingers. Dab in water and gently move your fingers/ Paintbrush along the edges.
For the Features of the face
Roll out a ball of clay and make long tubes, long enough to make the edges of the face clay dish. Take some more clay and roll slightly into thin tubes, for eyebrows, nose, lips.
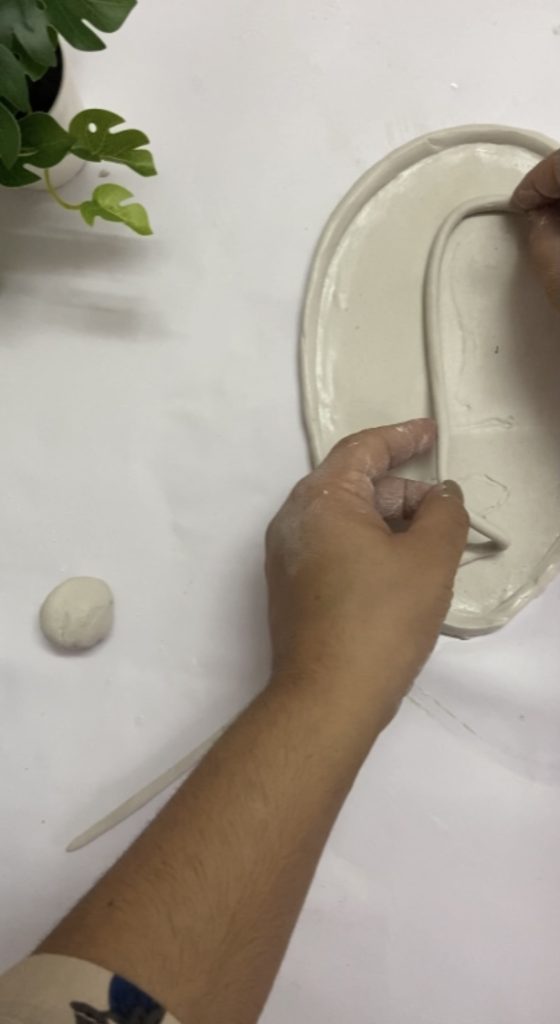
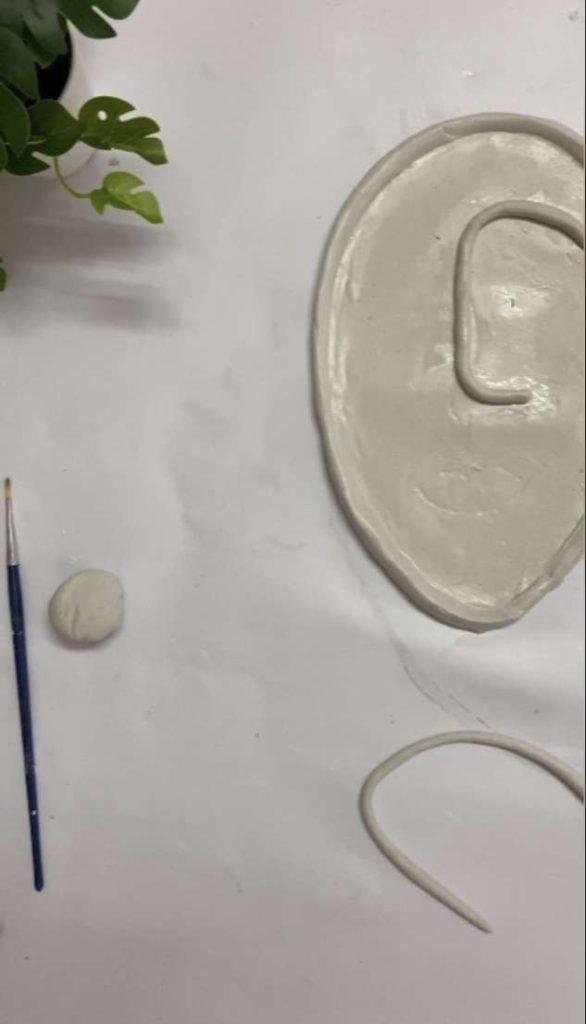
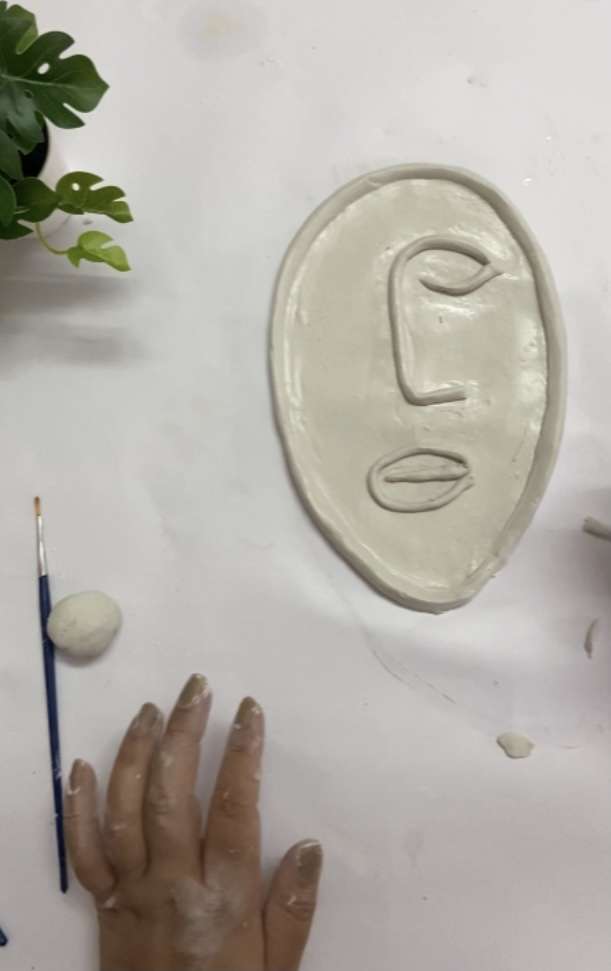
To make the lips, fold a piece and pinch the two ends together to make lips. Likewise, make eyes and eyelashes. Attach with the help of water and brush. Blend using your fingers. Use a paintbrush and water to perfect the features.

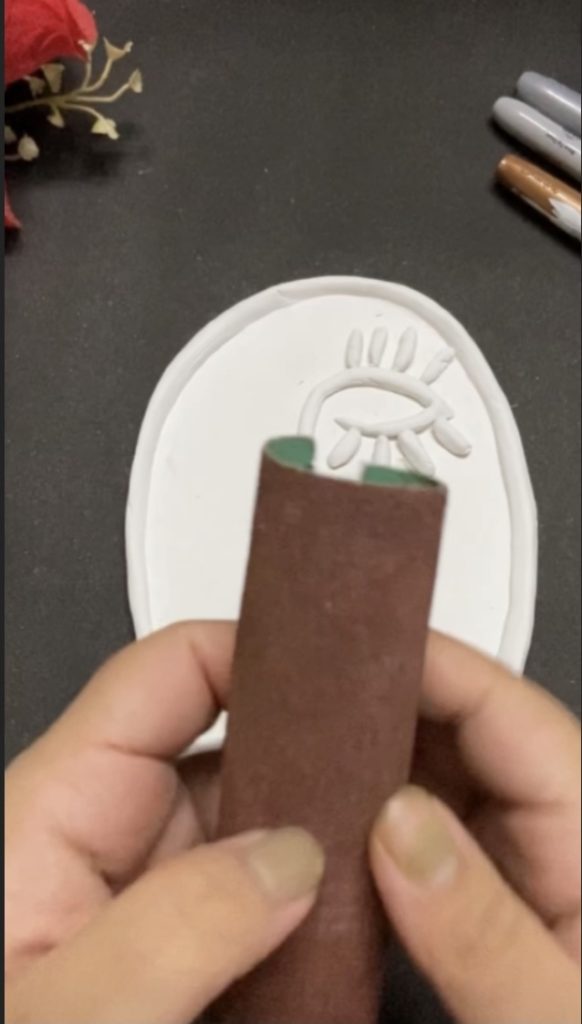
Leave it to dry overnight. This clay dish took around 48 hrs to completely dry. When it’s dried, sand it lightly with the help of sandpaper. Paint with acrylic paint and seal with a spray sealer to finish it off.

and TADA !! Your DIY Abstract Face Clay Ring Dish is ready.
I hope you like this. I enjoyed making this. This looks so cute, Doesn’t it ?? You can make any Desired Shape. I also made a few other aesthetic DIY with the Air dry clay like The Moon Clay Ring Dish and Flower Pressed Ring Dish. That is the beauty of air-dry clay you can mold it to your desired shape. Subscribe for upcoming clay Projects. I am sure you are going to like them too.
Pin it for Later. Sharing is Caring!! Simply click the Pinterest share button.
Hope you have a great day !! Thanks for stopping by !!
XOXO


Comments
Pingback: Clay Crafts | Clay Owl Planters |How to make| Easy DIY » The DIY Hustle
Pingback: Clay Jewellery Holder| Flora Imprint Air Dry DIY Clay Dish